


FO Report -- Kandinsky Tote
gift to knitter Alison in Campbell River, British Columbia, as part of International Tote Swap II
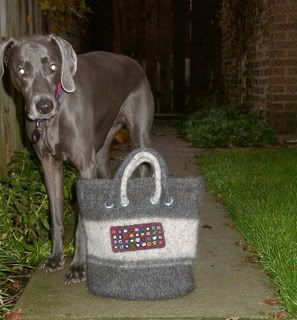
This bag is currently somewhere in Canada, on it's way to my tote swap partner. Alison, I hope you like it, I was a little sad to see this one go out the door.
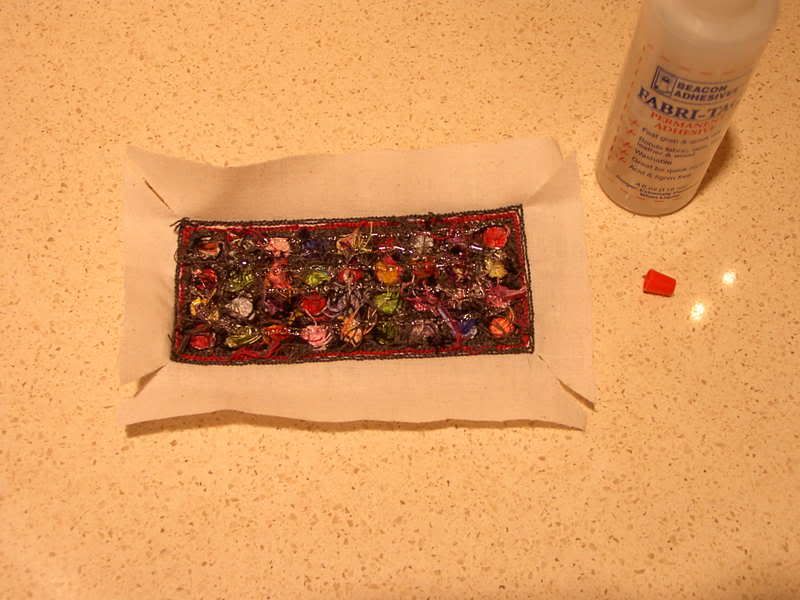
First up, the embellishment, which turned out like I planned. Note to CJ: I was going to secure the threads to the back by ironing on some fusible interfacing, but chickened out. Instead of the super hot iron, I used some clear fabric adhesive. More detailed notes for CJ and other crafters are at the bottom of this blog entry.
For the bag itself, I was aiming for the size of a small shopping bag, and succeeded. Yay!

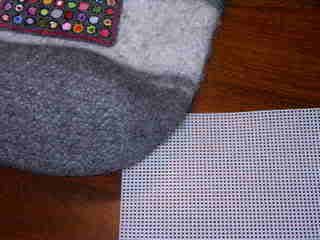
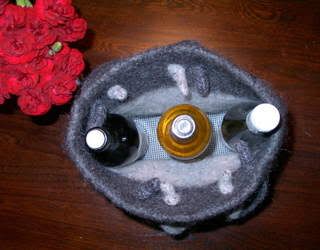
I gave the bag a little structural support by lining the bottom with some plastic needlepoint canvas, and attaching eight large grommets to the top.
Materials:
Yarn & Needles: Approximately 350 grams of dark and light charcoal grey Reynolds Lopi (100% Icelandic wool) and Lambs' Pride Prairie Silks (72% Wool, 18% Mohair, 10% Silk. 2 strands held together and densely knit on size 9 or 10 US (5.5 or 6 mm) knitting needles.
Embellishment: Printed muslin in Penny Rug design and punch embroidery needle from Hooked on Rugs. Assorted colors of cotton embroidery floss, including machine dyed DMC brand from local fabric store and hand dyed pieces from Hooked on Rugs. Used 3 full skeins of DMC floss for grey background.
Other:
9" embroidery hoop
Beacon Adhesives brand Fabri-Tac clear permanent glue
1 small piece of felt or other fabric to glue onto back of completed embellishment
8 extra-large nickel eyelets (Dritz brand, kit #660 includes setting tools + 10 eyelets), hammer
1 piece plastic needlepoint canvas, trimmed and corners rounded to rest in base of bag
1 tapestry needle to weave in knitted ends
1 sharp sewing needle to affix embellishment to tote
Approach: Knit swatch, measure or just draw outline on paper for measuring later, felt with regular load of laundry, then remeasure. Using pre- and post-felted swatch measurements as a guide, make rectangular base in garter stitch, pickup and knit stockinette sides in the round, switch to garter stitch in final 6 rounds, bind off. Make I-cord for straps, exact length not crucial, allow sufficient length to tie knots in finished straps. Felt pieces and set aside to dry thoroughly. Make embellishment, trim muslin to 1" around, coat back of embellishment with clear adhesive and neatly fold muslin over exposed ends of embroidery floss, coat again and attach small piece of felt or other fabric to neaten and stablize. Mark and attach extra-large eyelets to tote, thread and knot straps, using matching thread and sharp sewing needle, tack embellishment to exterior.
Labels: Finished Projects
posted by sweetfigs | 6:54 PM
![]()
![]()
4 Comments:
It's beautiful! The embellishment, especially, is stunning. What a great job you did.
That tote is magnificent! I'll bet Alison is going to be thrilled!
Thanks for the mini-tutorial!
your bag turned out so great! i think you should make one for yourself now. :)
Post a Comment
<< Home